Hanging art on your walls can be a nerve-wracking process, especially if you’re even the tiniest bit of a perfectionist. You don’t want to litter the wall with holes trying to get it right.
Chances are, you’ve been doing it wrong all along. Let us help you hang wall art properly the first time… every time.

Now playing: Build a gallery wall perfectly every time
2:02
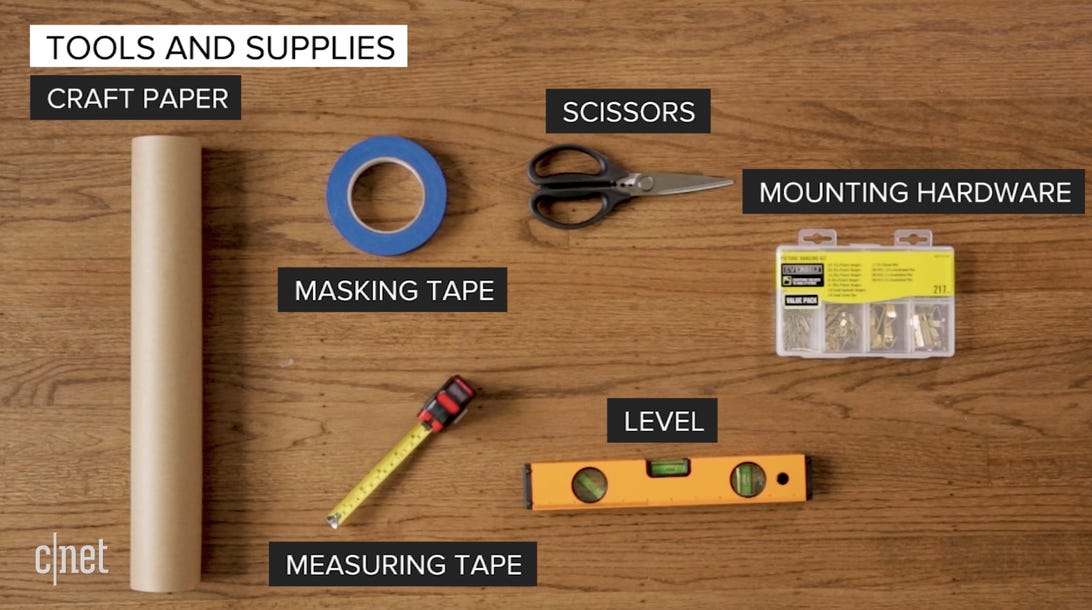
The tools and supplies you’ll need:
How to hang art perfectly
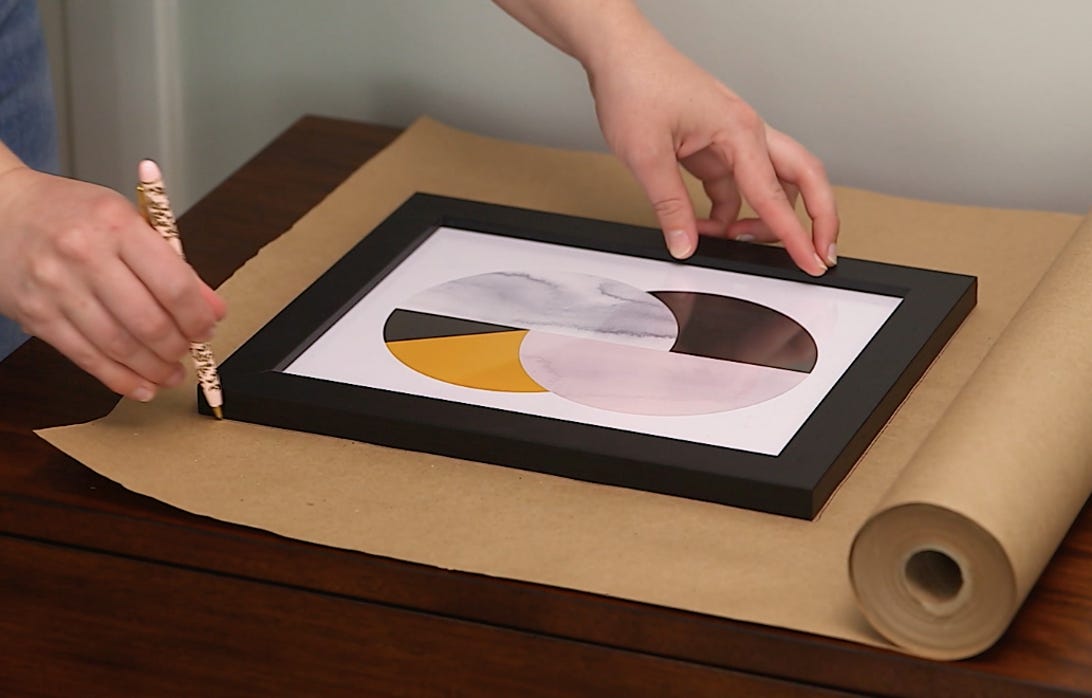
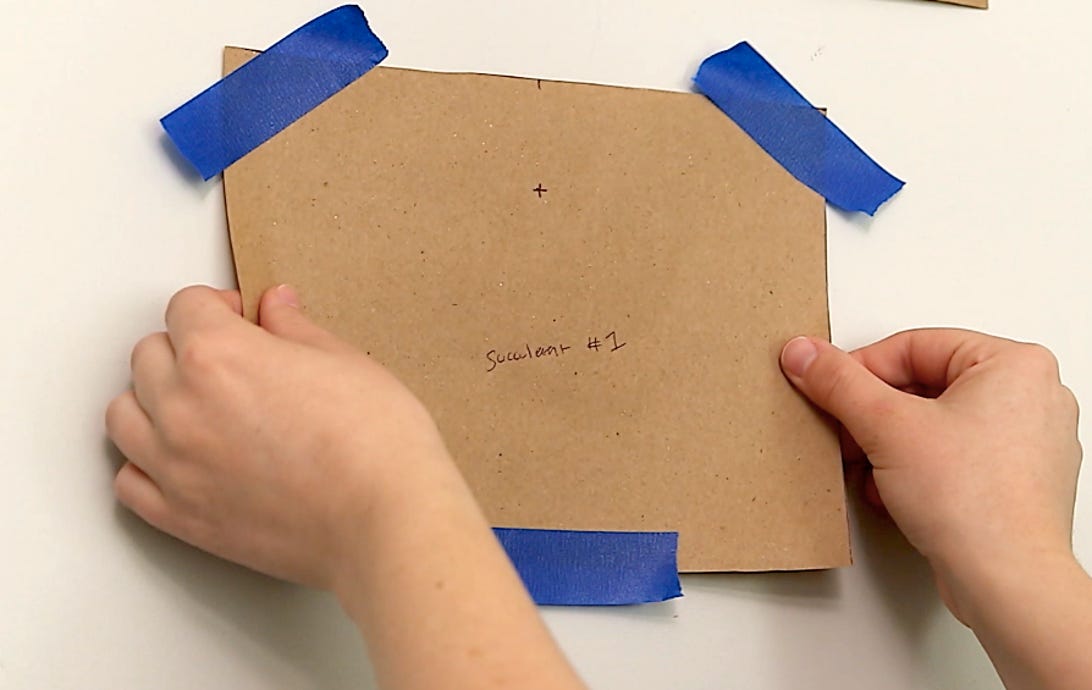
Step 1: Place the frame you want to hang on a piece of craft paper. Using a pencil or pen, trace around the frame and cut out the template.
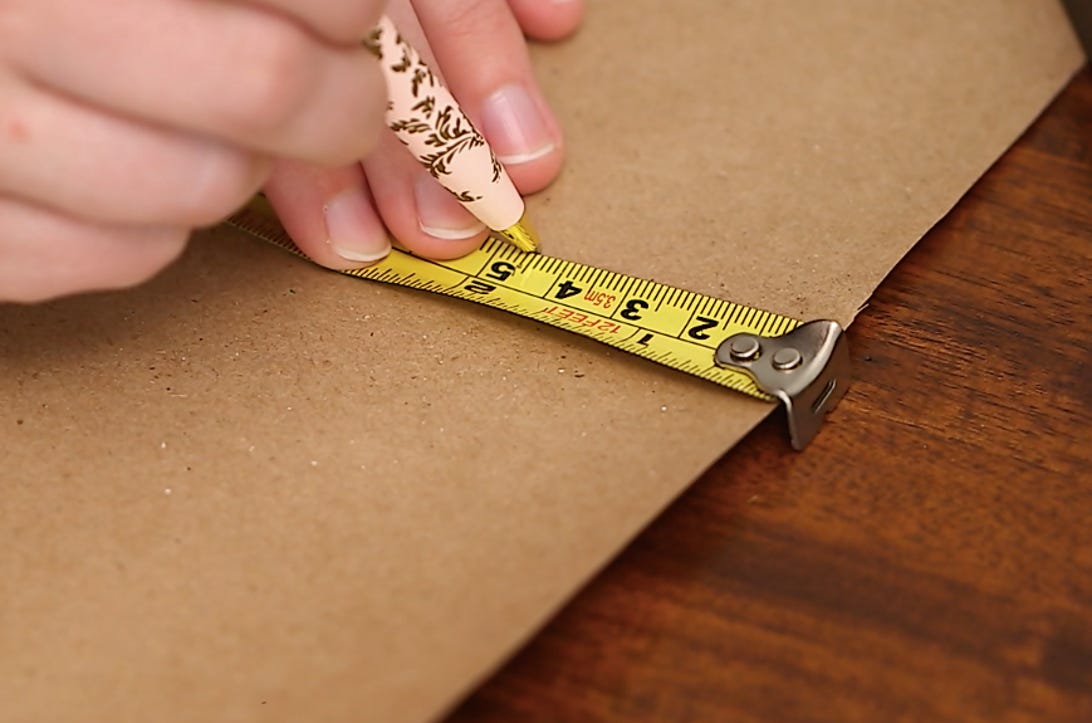
Step 2: Mark on the paper where the frame’s hanging hardware is. Then measure the distance between the top of the frame and the hanging point.

Step 3: Transfer that measurement to the paper.
Step 4: Use painter’s tape to temporarily adhere the template to the wall.
Step 5: Take a step back and examine the template to make sure that spot is where you want to hang the art before you nail.
If that spot looks and feels right, nail into the center of the mark you made on the template.

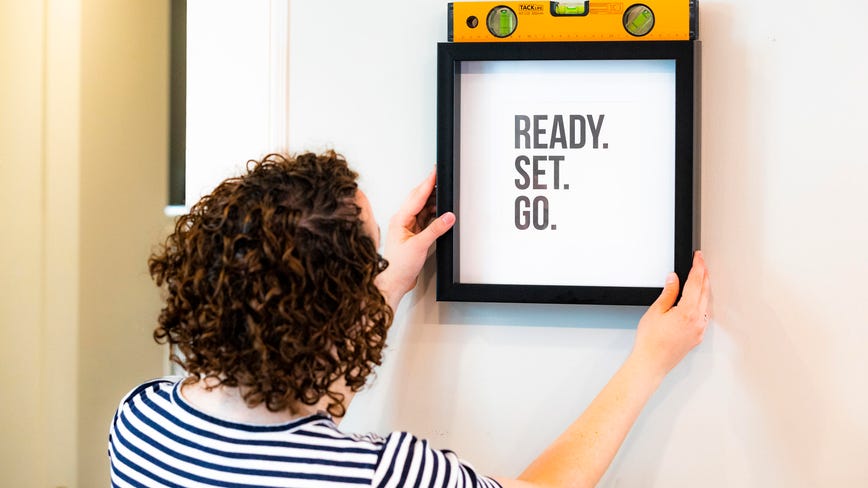
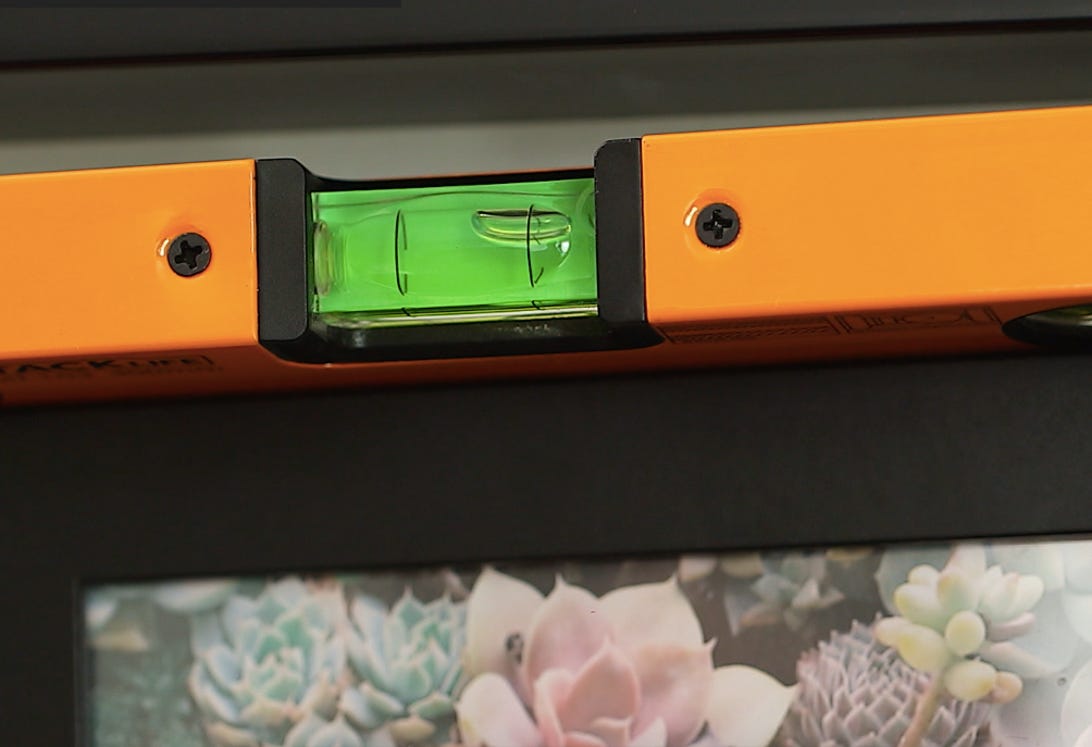
Step 6: Tear away the template and tape. Hang up your art and check that it is level.
And you’re done! If you’ve done this correctly, you will have avoided multiple attempts at hanging the art and littering your wall with holes.
Now that the stress of hanging art is gone, it’s time to look for new, affordable art for your walls.